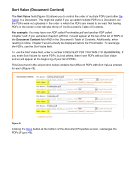
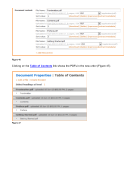
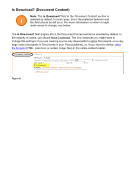
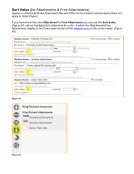
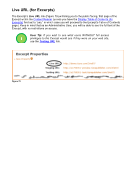
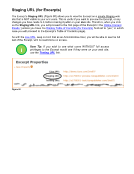
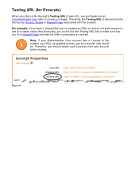
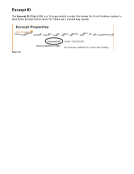
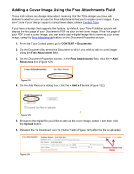
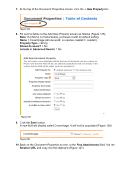
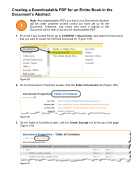
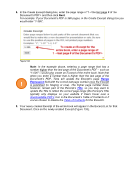
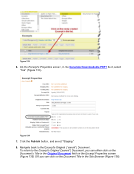
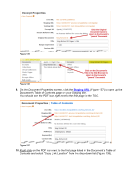
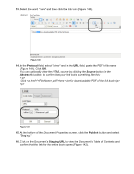
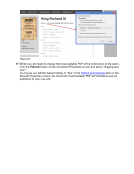
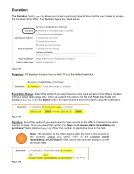
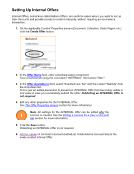
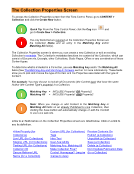
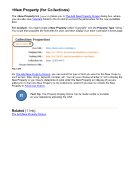
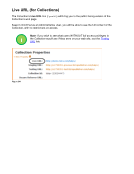
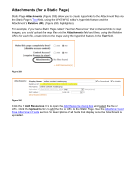
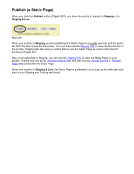
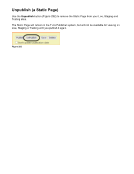
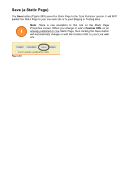
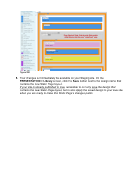
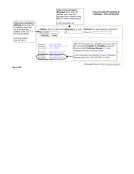
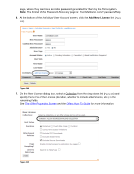
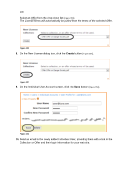
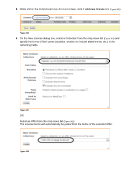
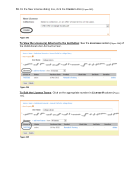
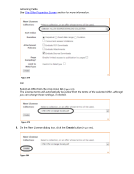
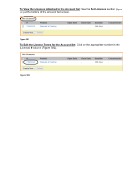
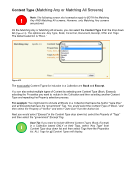
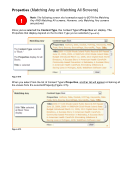
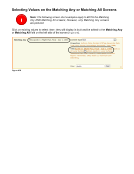
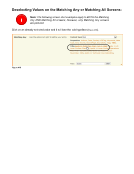
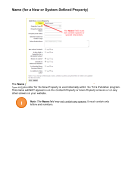
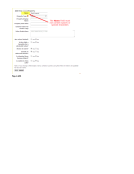
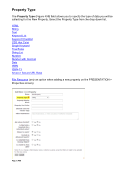
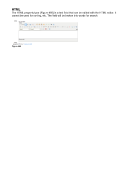
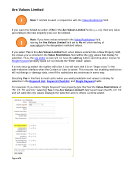
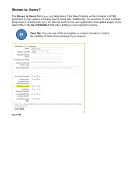
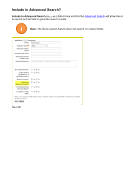
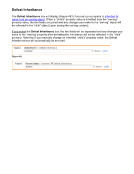
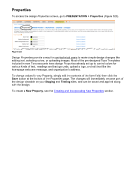
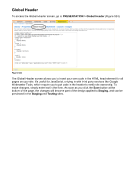
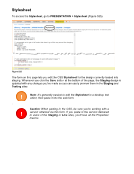
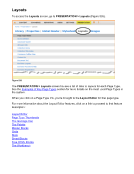
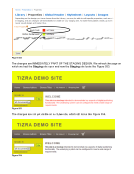
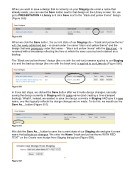
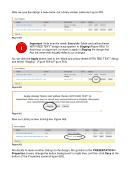
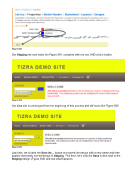
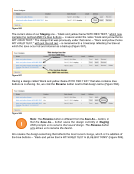
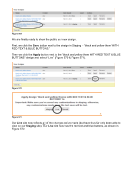
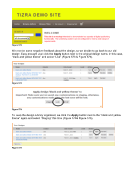
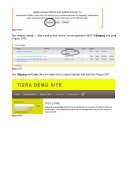
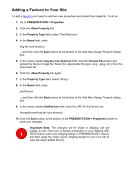
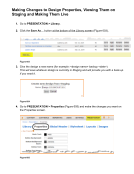
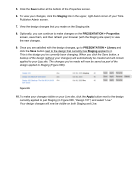
Adding a Favicon to Your Site To add a favicon you’ll want to add two new properties and upload the image file. To do so: 1. Go to PRESENTATION Properties. 2. Click the +New Property link. 3. In the Property Type field, select “File Resource.” 4. In the Name field, enter: img-fav-icon-shortcut …and then click the Save button at the bottom of the Add New Design Property dialog box. 5. In the newly created img-fav-icon-shortcut field, click the Choose File button and upload the favicon image file Select the appropriate file type (.png, .pgeg, etc.) from the drop-down list. 6. Click the +New Property link again. 7. In the Property Type field, select “String.” 8. In the Name field, enter: siteFavicon …and then click the Save button at the bottom of the Add New Design Property dialog box. 9. In the newly created siteFavicon field, enter the URL for the favicon as: /designfileview/img-fav-icon-shortcut 10. Click the Save button at the bottom of the PRESENTATION Properties screen to save your changes. Important Note: The changes will be made in Staging, but not visible, as the Tizra icon is always presented on your Staging site. You’ll need to save your Staging design in PRESENTAION Library and then apply the newly saved, Staging design to your Live site to view the newly added favicon. !
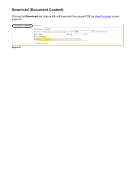
Downloaded from Tizra Support Resource Hub (support.tizra.com) by unknown.