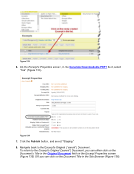
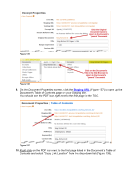
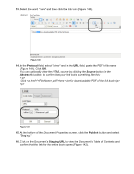
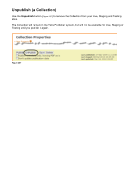
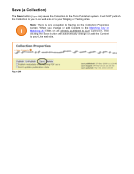
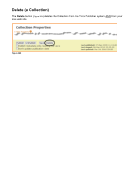
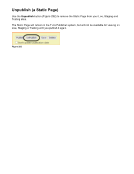
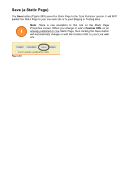
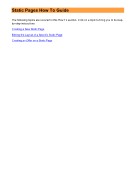
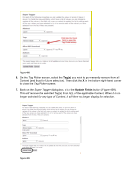
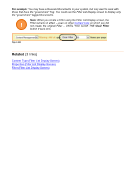
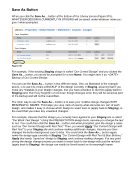
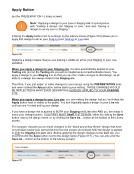
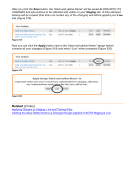
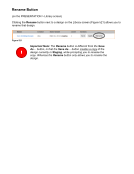
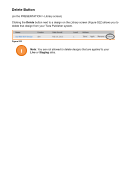
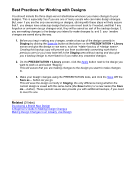
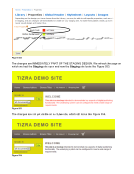
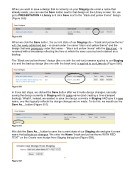
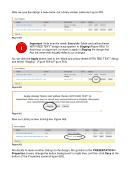
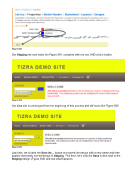
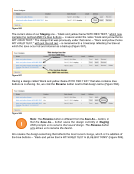
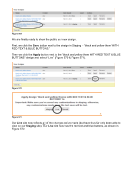
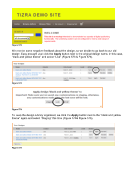
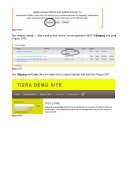
Best Practices for Working with Designs You should include the three steps we’ve listed below whenever you make changes to your designs. This is especially true if you are one of many people who can make design changes. But, even if you are the only one working on designs, sticking with these steps will help assure that 1. you always have a backup design that you can revert back to if needed, and that if any forgotten or unknown design changes exist, they will be saved as part of the backup design 2. you are making changes to the design you intend to make changes to and 3. your iterative changes are saved along the way. 1. Before you begin making any changes, create a backup of the design currently in Staging by clicking the Save As button at the bottom on the PRESENTATION Library screen and give the design a new name, such as “date backup of design name. Creating this backup copy will prevent you from accidentally overwriting work that a previous user (or you) may have left in the Staging area without saving and also give you a backup design to revert back to if you make any unwanted changes. 2. On the PRESENTATION Library screen, click the Apply button next to the design you want to work on and select “Staging.” This will assure that you are making changes to the design you want to make changes to. 3. Make your design changes using the PRESENTATION tools, and click the Save OR the Save as… button as you go. This will save the design currently in Staging, the only difference being whether the current design is saved with the same name (the Save button) or a new name (the Save As… button). These periodic saves also provide you with additional backups, if you need to revert to one. Related (3 links) Developing a Brand New Design A Beginner’s Guide to Making Design Changes Making Design Changes to an Already Live Design
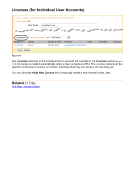
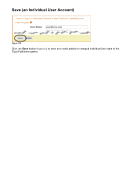
Downloaded from Tizra Support Resource Hub (support.tizra.com) by unknown.