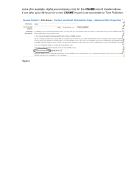
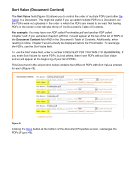
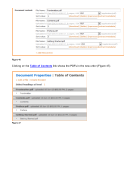
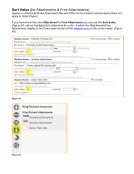
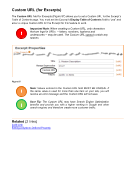
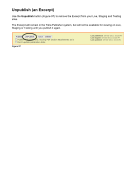
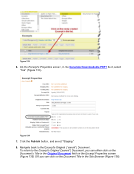
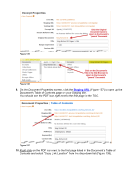
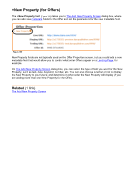
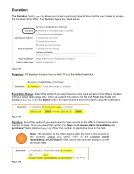
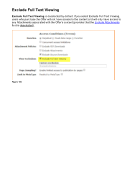
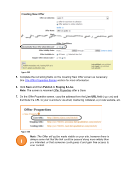
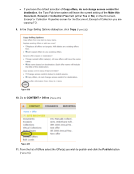
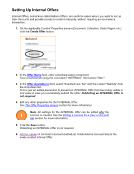
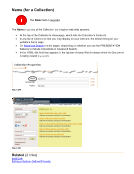
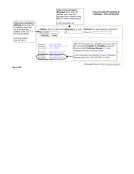
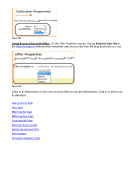
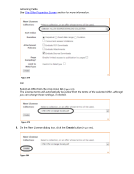
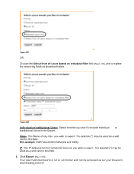
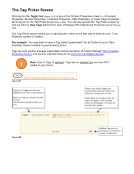
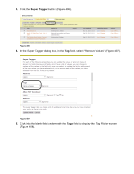
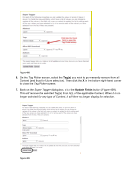
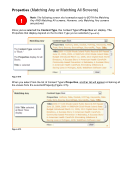
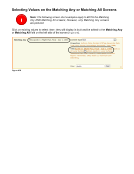
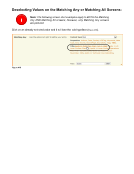
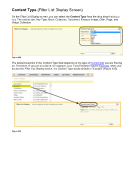
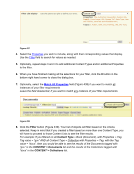
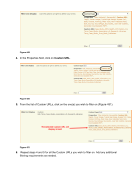
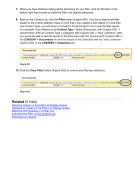
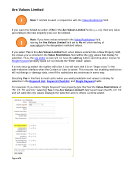
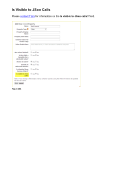
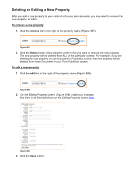
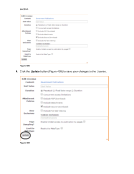
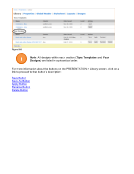
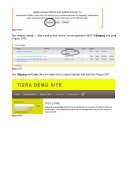
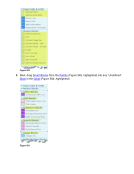
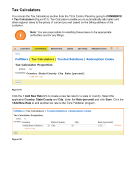
Figure 449 4. In the Properties field, click on Custom URL. Figure 450 5. From the list of Custom URLs, click on the one(s) you wish to filter on (Figure 451). Figure 451 6. Repeat steps 4 and 5 for all the Custom URLs you wish to filter on. Add any additional filtering requirements as needed.
Downloaded from Tizra Support Resource Hub (support.tizra.com) by unknown.