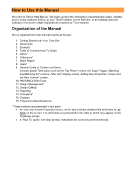
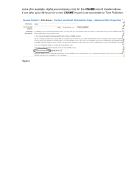
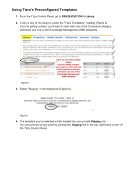
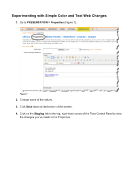
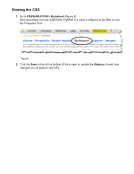
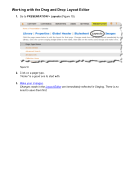
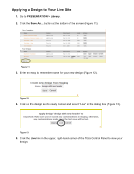
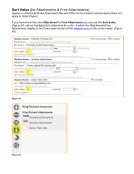
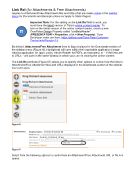
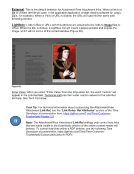
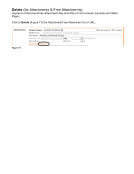
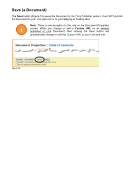
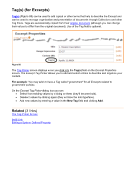
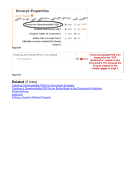
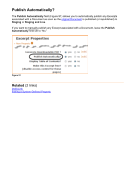
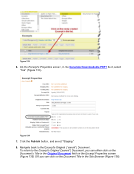
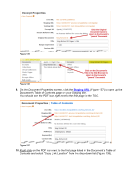
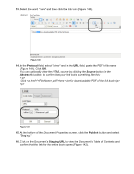
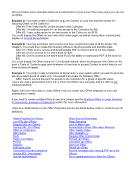
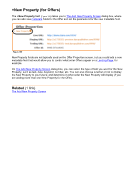
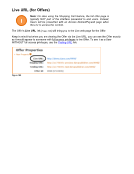
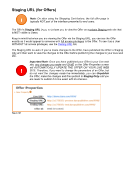
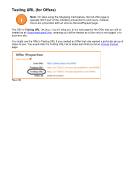
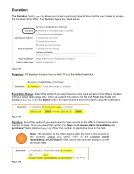
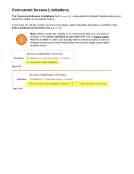
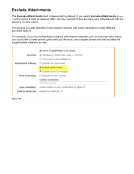
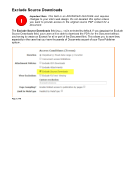
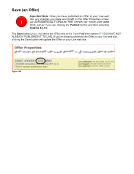
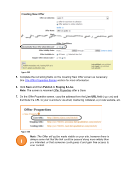
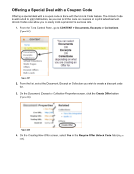
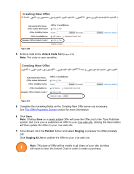
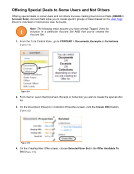
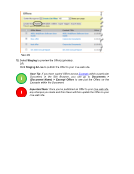
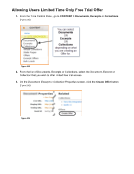
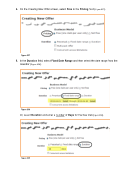
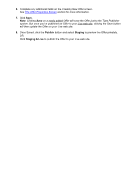
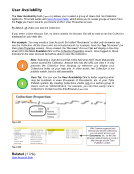
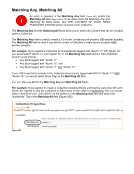
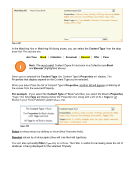
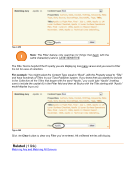
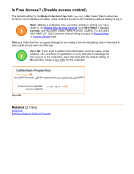
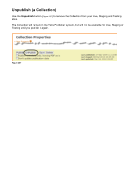
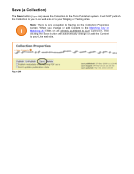
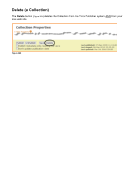
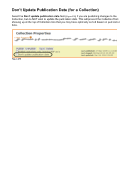
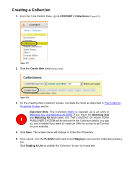
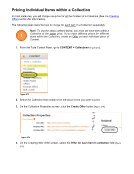
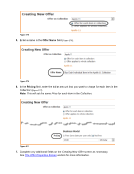
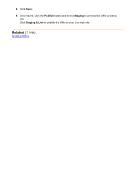
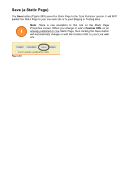
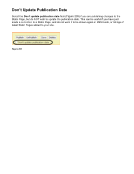
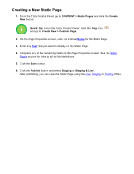
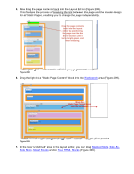
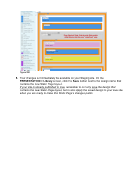
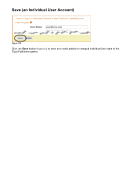
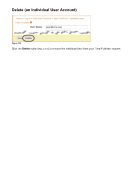
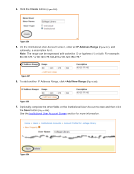
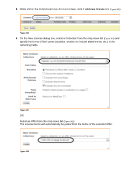
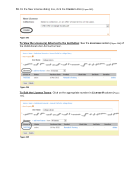
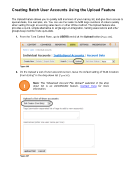
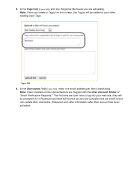
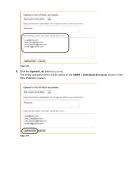
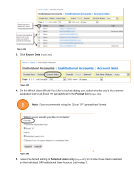
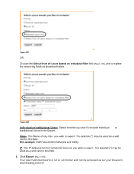
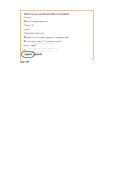
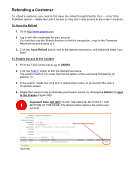
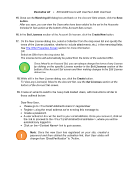
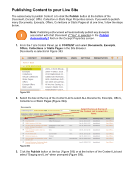
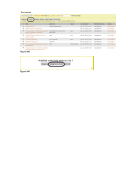
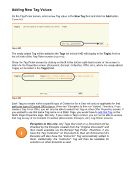
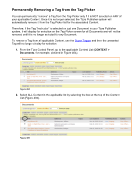
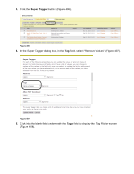
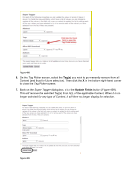
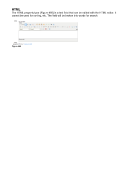
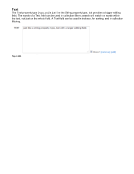
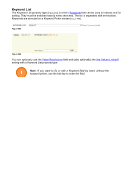
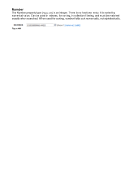
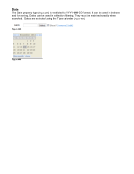
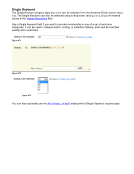
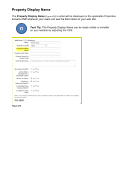
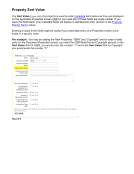
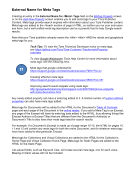
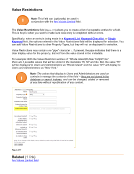
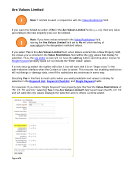
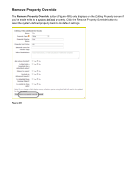
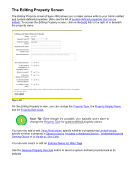
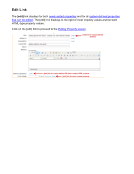
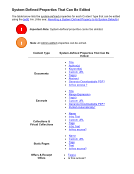
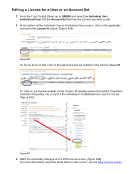
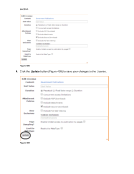
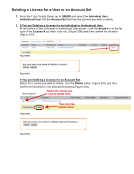
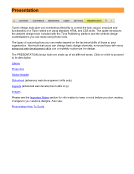
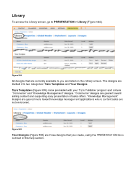
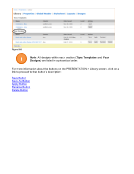
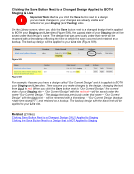
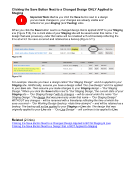
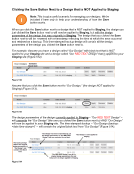
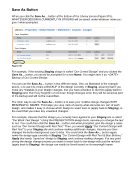
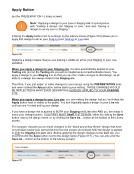
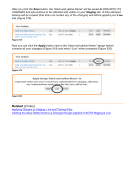
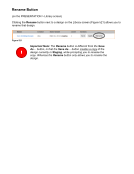
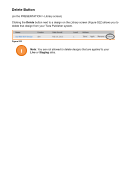
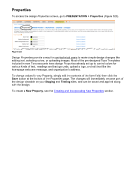
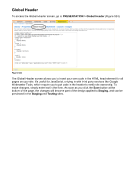
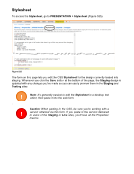
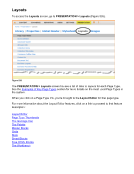
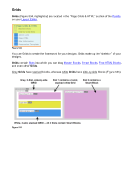
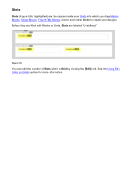
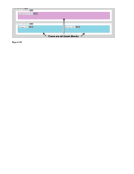
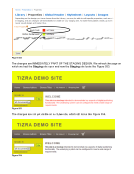
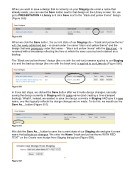
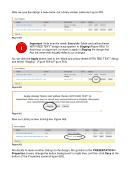
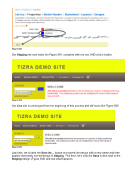
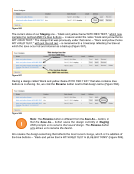
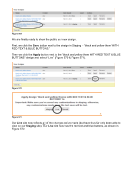
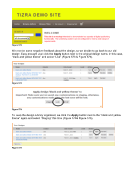
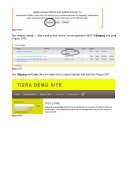
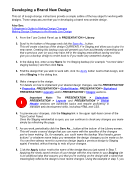
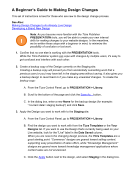
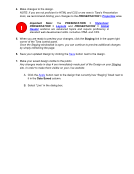
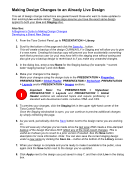
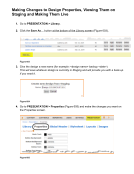
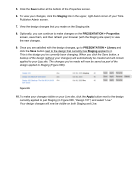
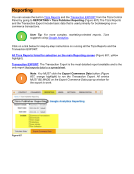
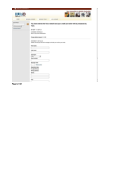
When you want to save a design that is currently on your Staging site under a name that already exists, you can use the Save button next to that design on the Library screen. So, we go to PRESENTATION Library and click Save next to the “black and yellow theme” design (Figure 555). Figure 555 When we click the Save button, the current state of our Staging site – “black and yellow theme” with the newly added red text – is saved under the name “black and yellow theme” and the design that was previously under that name -- “black and yellow theme” with the black text -- is renamed with a timestamp reflecting the time at which the save occurred and retained as a backup. The “Black and yellow theme” design (the one with the red text) remains applied to our Staging site and the backup design (the one with the black text) is applied to our Live site (Figure 556). Figure 556 In those last steps, we clicked the Save button after we’d made design changes, basically saving the design currently in Staging with its same name (and creating a time-stamped backup). What if, instead, we wanted to save the design currently in Staging AND give it a new name, one that logically reflects the design changes we’ve made. To do this, we would use the Save As… button (Figure 557). Figure 557 We click the Save As… button to save the current state of our Staging site and give it a new name that reflects our changes. We enter the Name “black and yellow theme WITH RED TEXT” on the Create new design from Staging dialog box (Figure 558). Figure 558
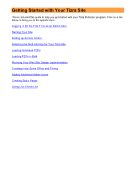
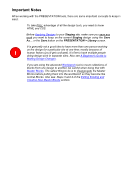
Downloaded from Tizra Support Resource Hub (support.tizra.com) by unknown.