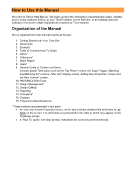
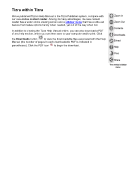
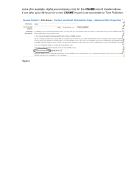
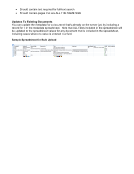
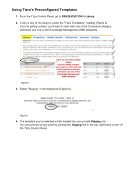
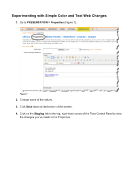
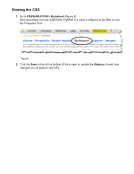
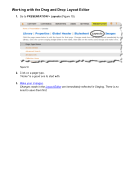
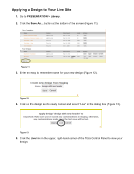
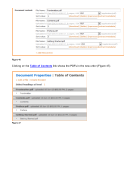
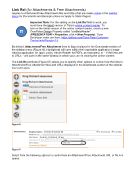
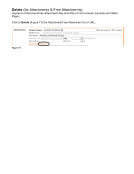
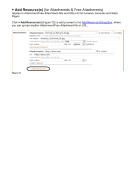
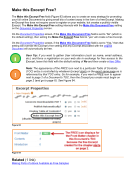
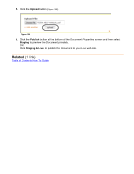
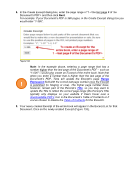
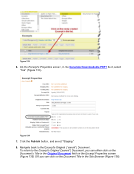
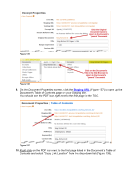
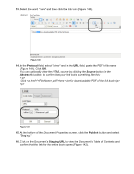
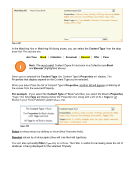
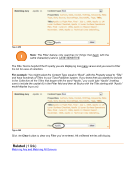
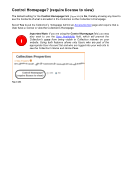
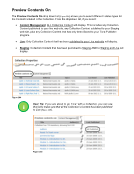
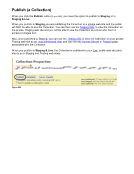
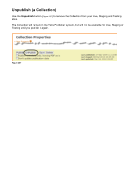
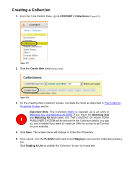
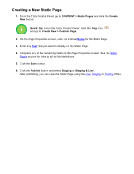
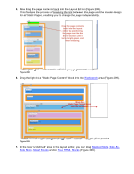
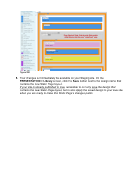
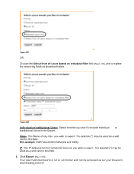
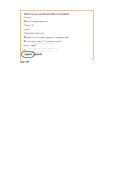
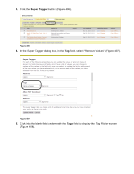
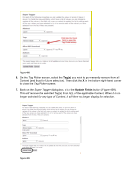
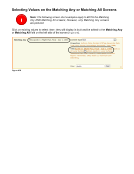
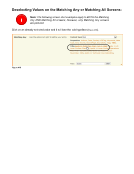
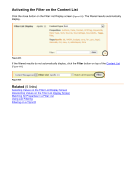
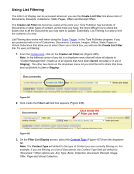
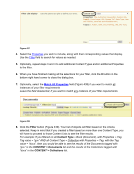
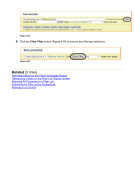
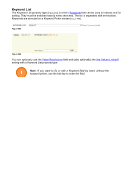
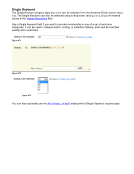
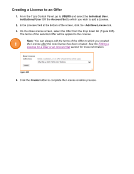
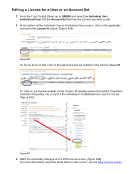
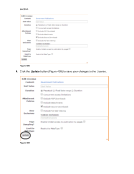
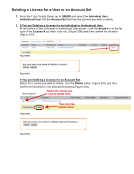
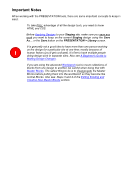
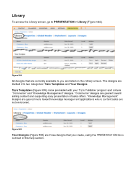
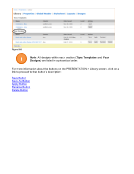
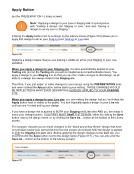
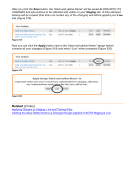
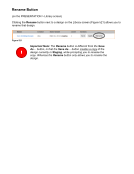
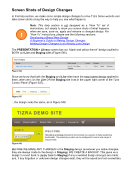
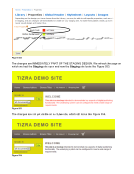
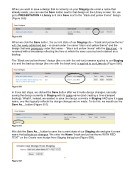
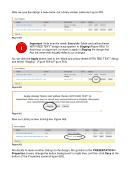
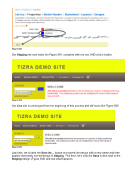
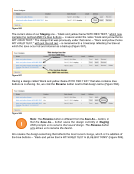
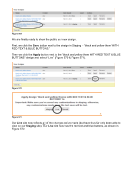
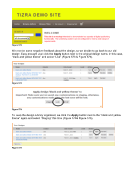
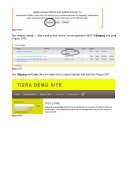
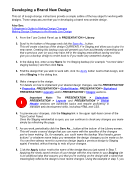
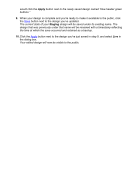
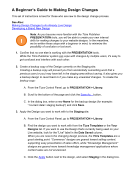
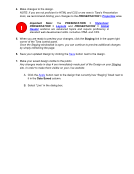
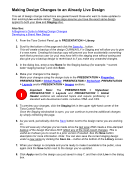
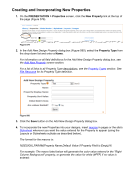
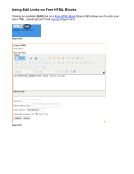
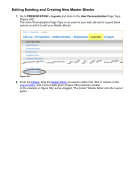
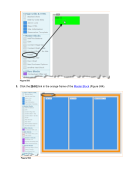
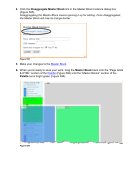
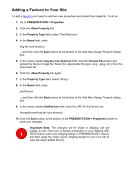
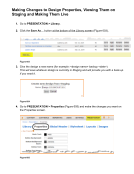
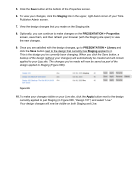
Developing a Brand New Design This set of design change instructions provide a simple outline of the key steps for working with designs. These steps assume that you’re developing a brand new website design. Also See: A Beginner’s Guide to Making Design Changes Making Design Changes to An Already Live Design 1. From the Tizra Control Panel, go to PRESENTATION Library. 2. Scroll to the bottom of the page and click the Save As... button. This will create a backup of the design CURRENTLY in Staging and allow you to give it a new name. Creating this backup copy will prevent you from accidentally overwriting work that a previous user (or you) may have left in the staging area without saving and also give you a backup design to revert back to if you make any unwanted changes. 3. In the dialog box, enter a new Name for the Staging backup (for example “current date staging backup") and then click Save. 4. Find the design that you wish to work with, click the Apply button next to that design, and select Staging in the dialog box. 5. Make changes to the design. For details on how to implement your desired design changes, see the PRESENTATION Properties, PRESENTATION Global Header, PRESENTATION Stylesheet, PRESENTATION Layouts and/or PRESENTATION Images sections. Important Note: The PRESENTATION Stylesheet, PRESENTATION Layouts and PRESENTATION Global Header sections are advanced topics and require proficiency in standard web development skills, including HTML and CSS. 6. To preview your changes, click the Staging link in the upper right-hand corner of the Tizra Control Panel. Once the Staging window/tab is open, you can continue to check any changes you make simply by refreshing the page. 7. As you work, periodically click the Save As… button at the bottom of the Library screen. This will create a saved design that you can name with the specifics of the changes you’ve been making. So, for example, you could name the backup “blue header_green buttons” or whatever name helps you remember the design changes you’ve made so far. You can then always revert to a previous design (apply a previous design to Staging again) if needed, without having to redo all your changes. 8. Click the Apply button next to the name of the design that you just saved in Step 7. Applying the newly saved version of your design with the new name to your Staging site is an additional step that assures you that you’re working on the design with a name that meaningfully reflects the design’s most recent changes. Using the example in step 7, you !
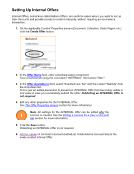
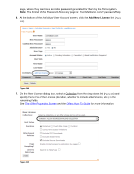
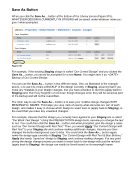
Downloaded from Tizra Support Resource Hub (support.tizra.com) by unknown.