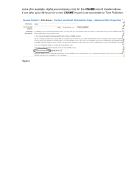
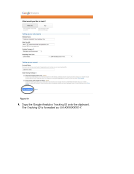
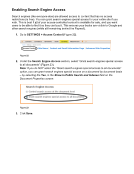
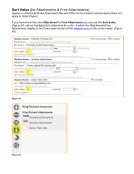
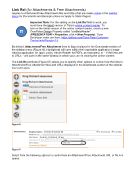
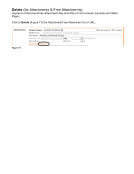
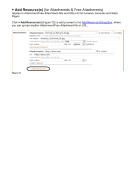
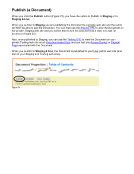
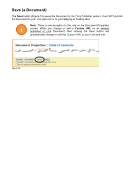
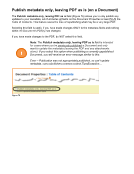
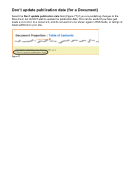
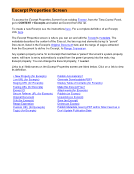
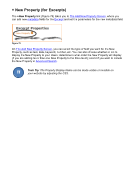
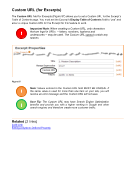
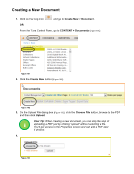
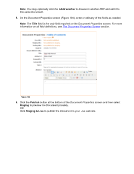
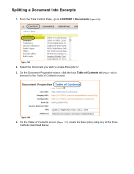
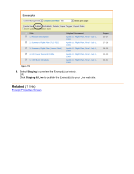
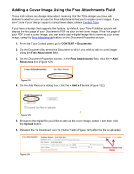
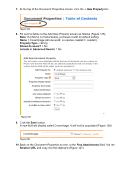
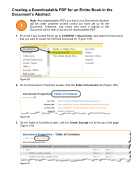
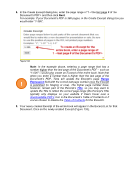
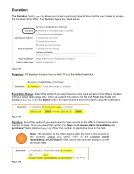
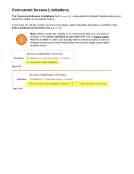
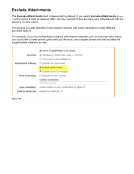
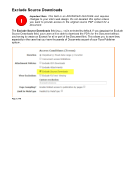
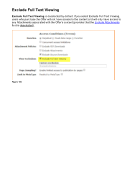
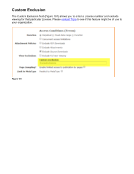
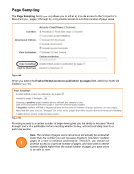
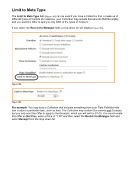
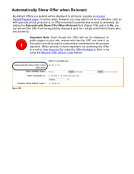
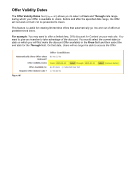
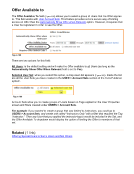
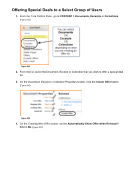
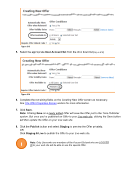
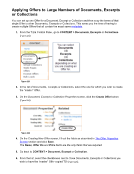
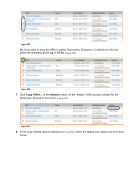
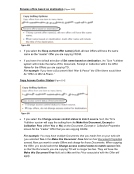
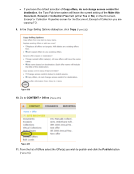
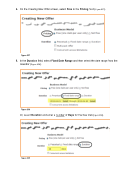
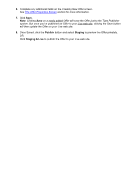
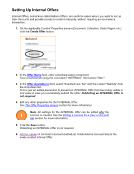
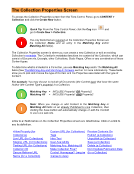
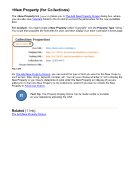
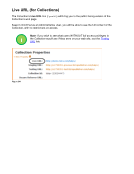
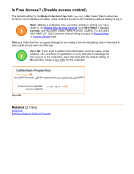
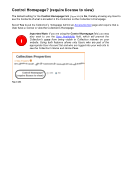
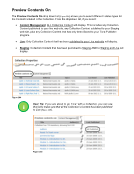
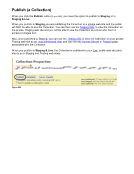
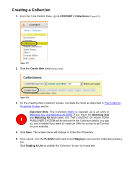
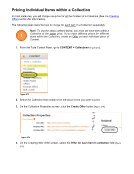
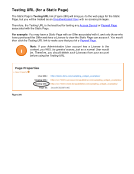
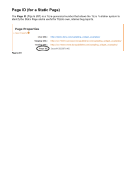
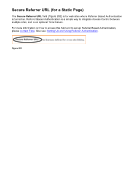
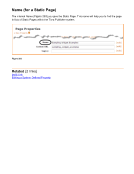
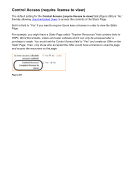
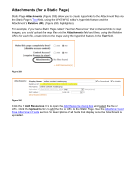
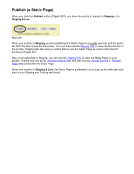
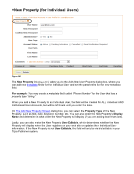
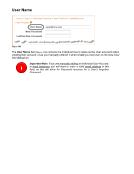
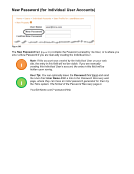
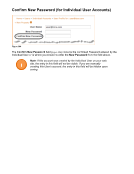
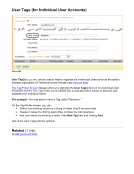
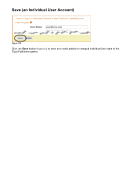
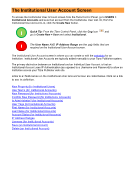
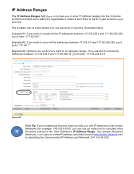
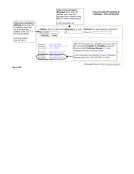
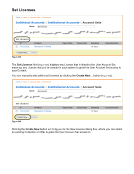
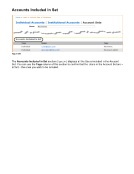
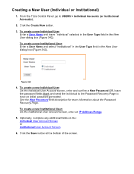
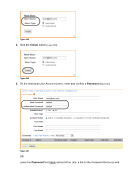
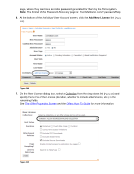
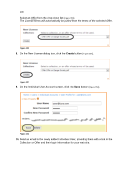
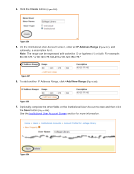
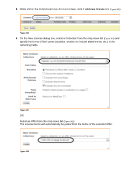
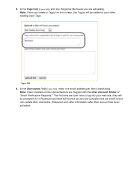
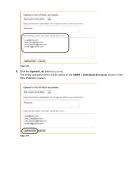
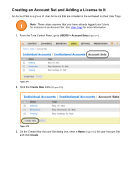
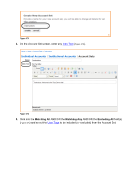
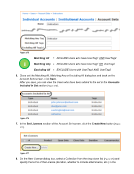
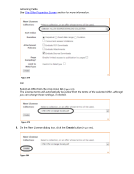
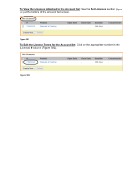
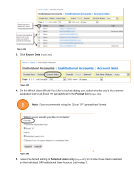
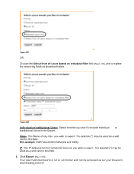
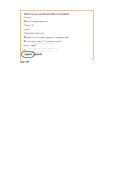
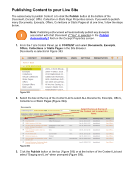
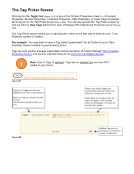
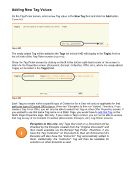
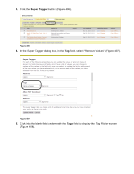
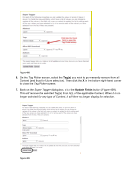
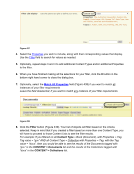
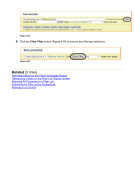
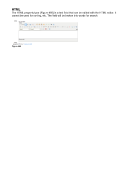
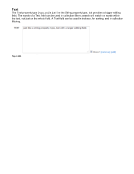
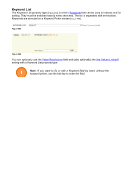
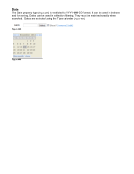
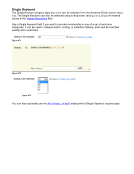
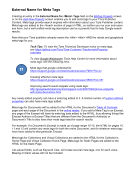
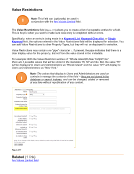
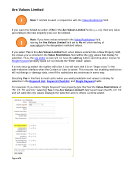
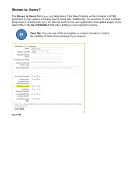
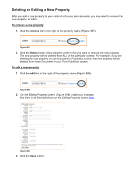
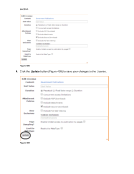
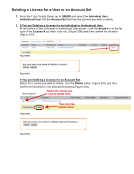
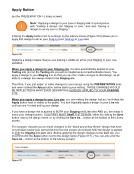
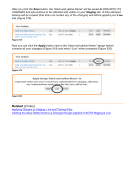
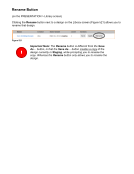
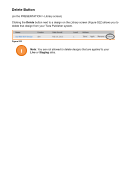
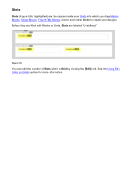
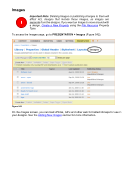
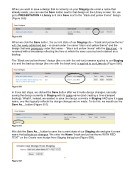
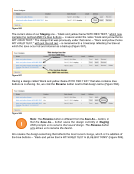
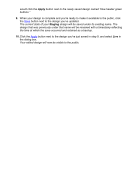
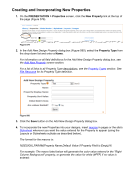
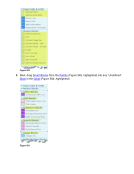
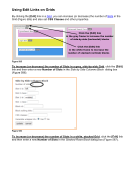
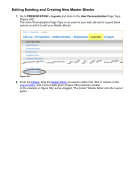
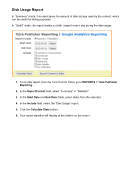
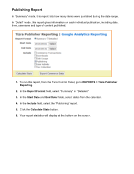
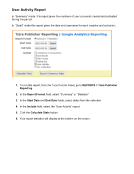
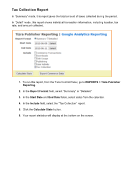
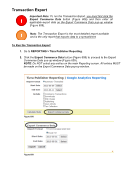
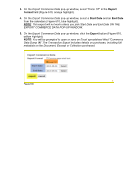
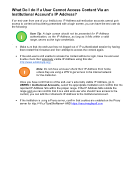
4. Click the Create button (Figure 356). Figure 356 5. On the Institutional User Account screen, enter an IP Address Range (Figure 357), and optionally, a description for it. Note: The range can be expressed with asterisks (*) or hyphens (-) or both. For example: 80.123.176.* or 80.123.176.192-215 or 80.123.150-176.* Figure 357 6. To add another IP Address Range, click +Add New Range (Figure 358). Figure 358 7. Optionally complete the other fields on the Institutional User Account screen and then click the Save button (Figure 359). See the Institutional User Account Screen section for more information. Figure 359
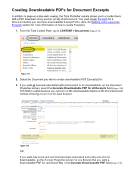
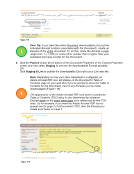
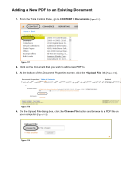
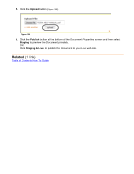
Downloaded from Tizra Support Resource Hub (support.tizra.com) by unknown.