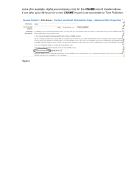
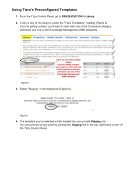
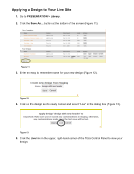
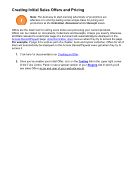
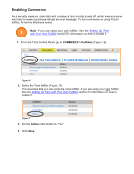
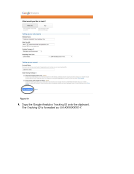
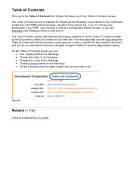
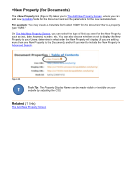
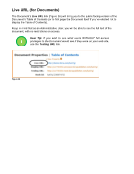
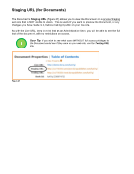
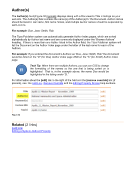
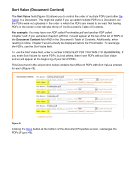
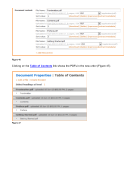
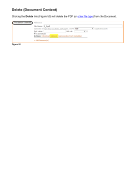
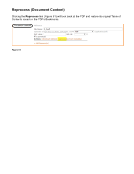
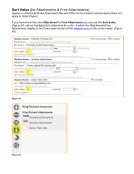
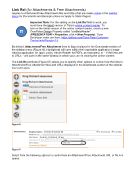
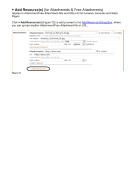
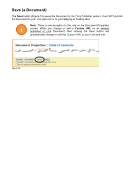
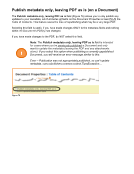
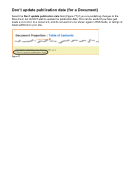
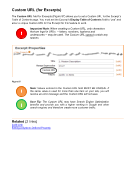
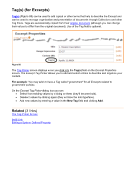
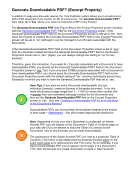
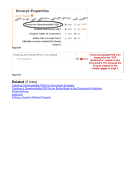
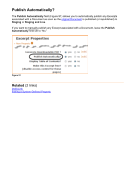
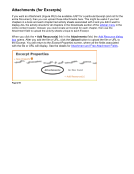
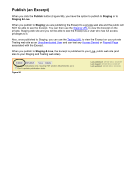
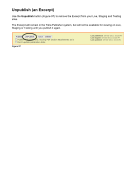
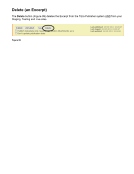
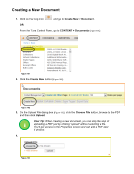
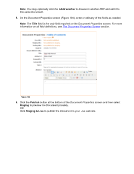
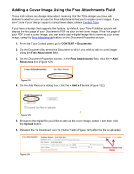
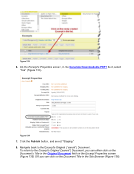
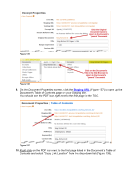
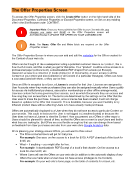
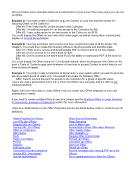
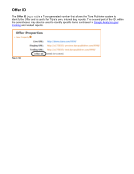
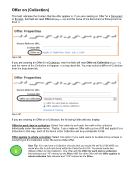
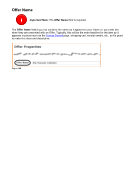
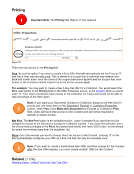
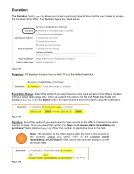
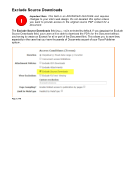
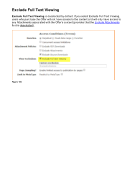
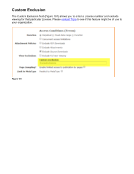
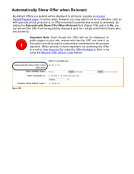
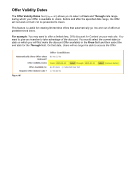
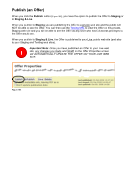
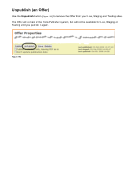
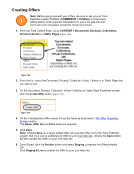
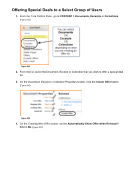
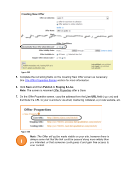
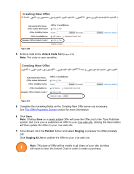
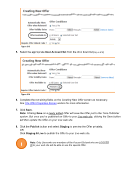
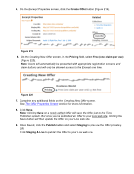
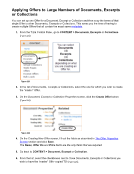
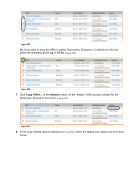
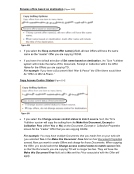
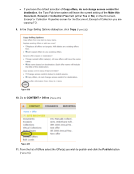
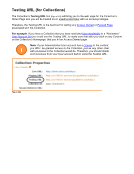
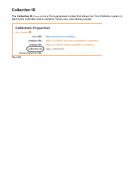
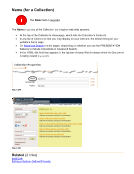
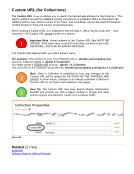
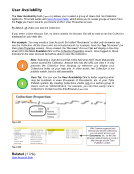
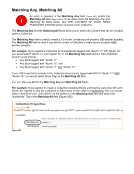
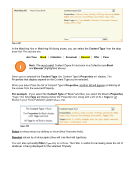
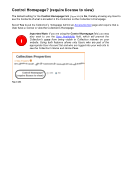
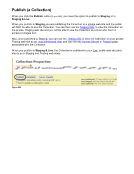
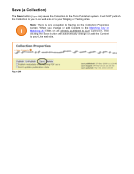
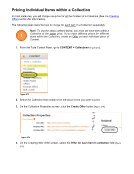
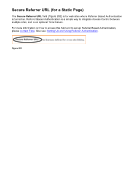
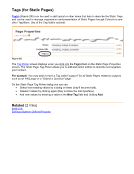
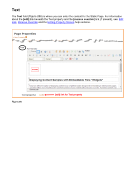
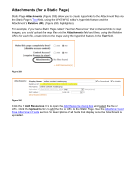
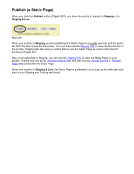
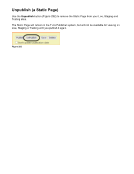
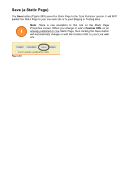
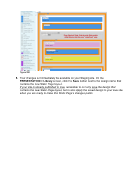
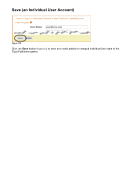
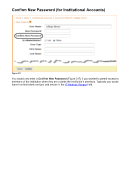
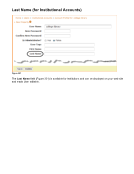
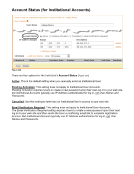
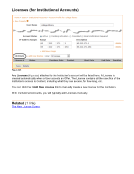
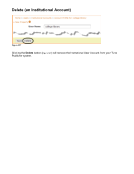
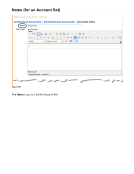
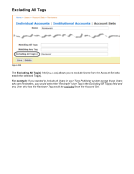
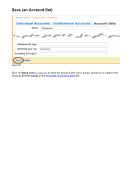
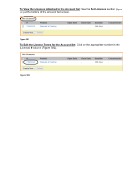
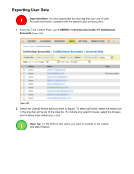
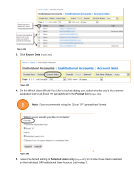
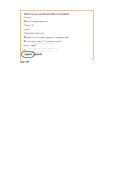
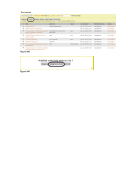
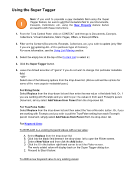
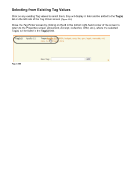
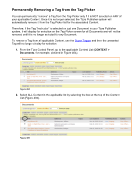
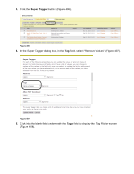
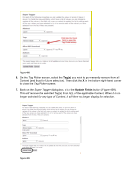
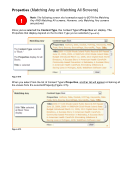
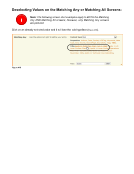
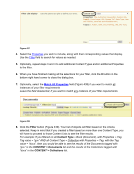
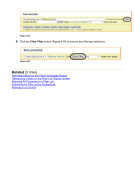
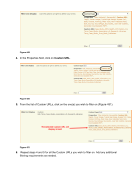
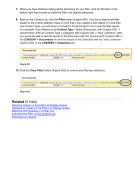
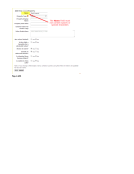
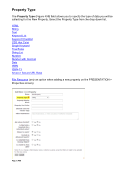
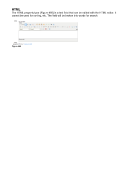
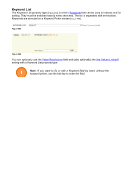
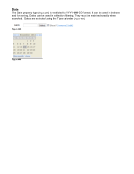
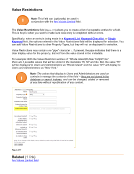
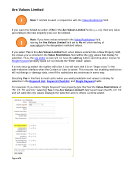
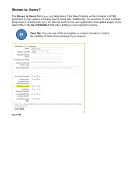
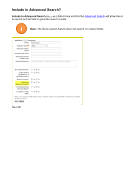
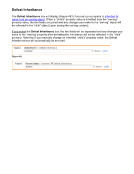
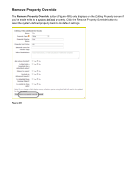
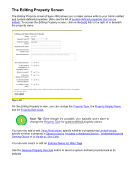
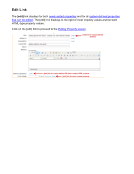
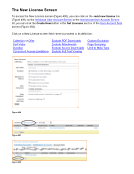
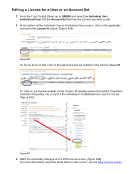
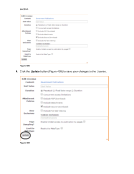
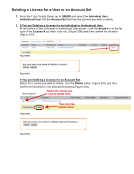
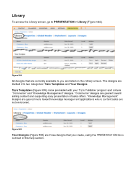
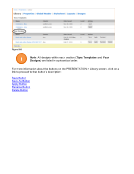
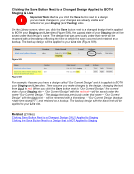
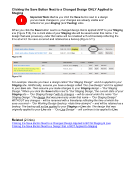
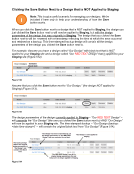
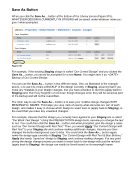
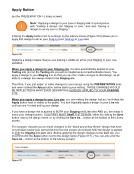
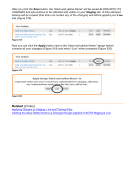
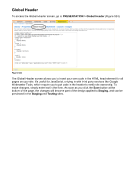
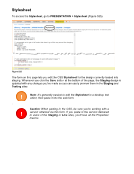
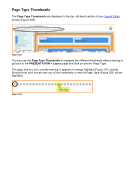
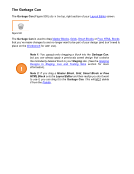
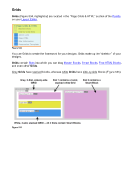
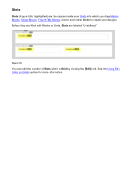
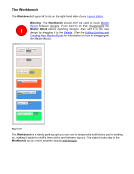
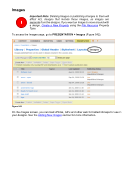
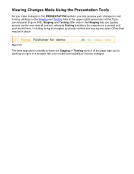
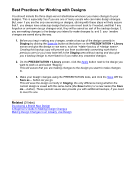
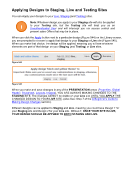
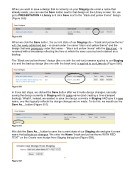
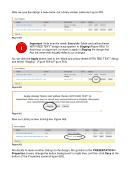
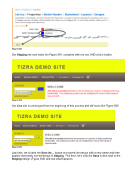
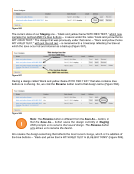
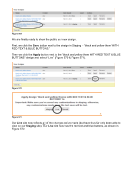
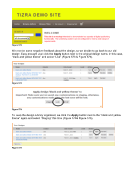
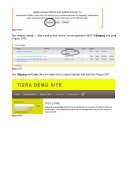
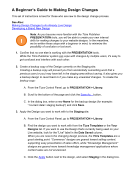
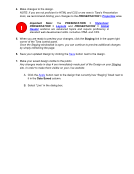
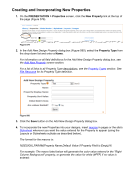
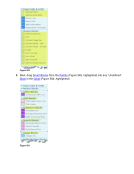
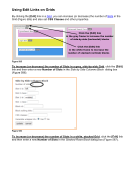
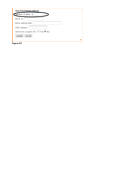
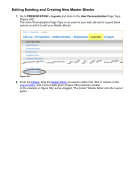
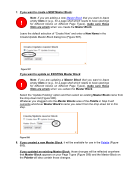
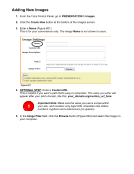
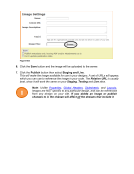
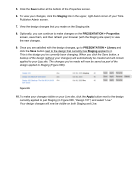
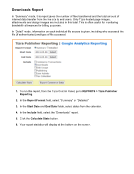
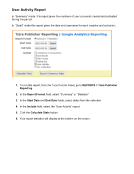
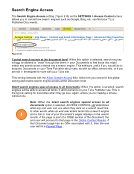
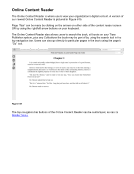
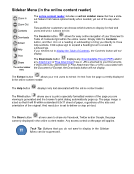
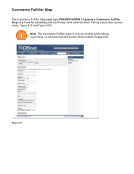
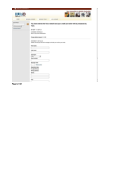
Apply Button (on the PRESENTATION Library screen) Note: “Applying a design to your Live or Staging site” is synonymous with “loading a design into Staging or Live,” and also “having a design in use by Live or Staging.” Clicking the Apply button next to a design on the Library screen (Figure 516) allows you to apply that design to either your Staging (and Testing) or Live sites. Figure 516 Applying a design means that you are making it visible on either your Staging or your Live websites. When you apply a design to your Staging site, it is also automatically applied to your Testing site (but on the Testing site you will be treated as an Unauthenticated User). You apply a design to your Staging site so that you can then make changes to that design, as all edits to a design are always made to the Staging site. Therefore, if you just began to make changes to your design using the PRESENTATION tools and never clicked the Apply button before starting your editing, THOSE CHANGES WOULD BE REFLECTED IN WHATEVER DESIGN WAS ALREADY APPLIED TO YOUR STAGING SITE. When you apply a design to your Live site, you are making the design that you’ve clicked the Apply button next to visible to the public. You don’t typically apply a design to your Live site until you are finished editing your design. If you have a design this is applied to BOTH your Staging and Live sites AND you are ready to make your changes public, YOU FIRST MUST SAVE THE DESIGN, either by clicking the Save button next to the design name, or by clicking the Save As… button at the bottom of the Library screen. For example: Assume you’ve made changes to the “black and yellow theme” design that have not yet been saved (you cannot tell this from the screen shot below) AND the design is applied to both the Staging and Live sites. Before applying the design changes to the Live site, you must first click the Save button next to the design name (Figure 517). (You can also click the Save As… button at the bottom of the Library screen). Figure 517 !
Downloaded from Tizra Support Resource Hub (support.tizra.com) by unknown.